Monday 30 July 2012

Lee Hyori U Go Girl Inspired Tutorial

This is my first attempt in a celebrity inspired look! I understand that I am in no way alike her other that being Asian (haha!). Picture and music video at the end of the post.


Lee Hyori U-Go-Girl Inspired Complete Look
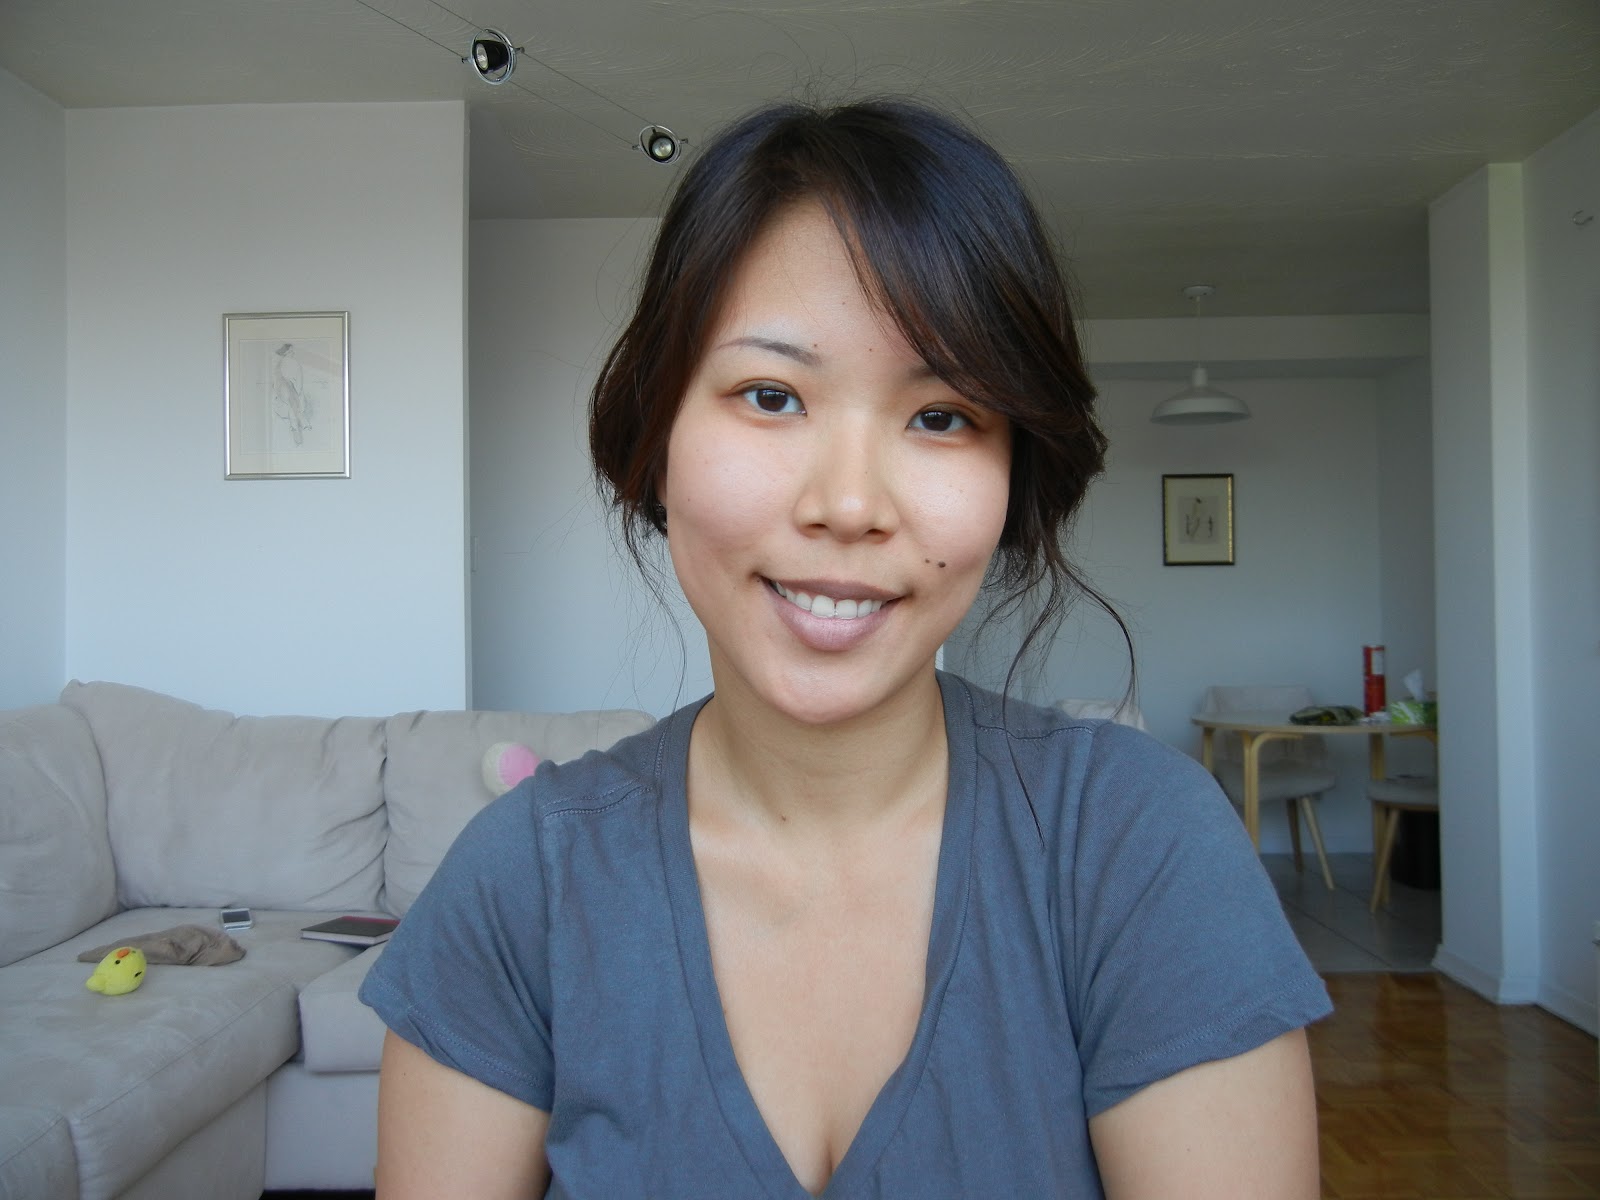

BEFORE

I curled my hair and had it up for this particularly tutorial. Since I no longer have long hair, I could not imitate the hair style properly.


Hair up and curled


First and foremost, prime your face with a moisturiser/ sunscreen/ primer and apply foundation.


Revlon Photo Ready Foundation in 004 Nude; Sigma F80

The MAIN thing that has to be changed for a Korean female artist look, is to have a thicker eyebrows. Try to search on Google and you'll see that it's a trend right now. Thicker brow makes you look younger too!


RIGHT brow thicken


Both brows equal now!


MAC Blacktrack Fluidline; Eyeliner brush (from craft store)

Tight line your eyes with the gel eyeliner. We will be using the same one later to line our lash line.


Sparkly purple eyeshadow

With a sparkly purple eyeshadow colour, apply it to the outer corner of your eyes and blend it inwards. Make sure the colour concentrates on the outer part of your eyes.

Use a bright beige colour and blend it out + highlight brow bone.


As such

With the same MAC fluidline, line the upper lash line. Wing it out slightly. 


Eyeliner
With the remaining product left on the eyeliner brush, line the lower water line. Remember do not make it look too harsh.


Lightly go across the water line


Light brown eyeshadow

With a smudge brush, dip into a light brown eyeshadow and line the lower lash line.


Light brown eyeshadow on lower lash line

Apply a natural looking pair of false lashes as you wish.


Almost there..

Use a matte bronzer to contour your face and the sides of the nose. LIGHTLY go across the cheeks with a blush. Korean makeup emphasize on the natural flush so blush are usually not noticeable.


MAC Mineralized Blush in Daft Pink; NYC Sunny Bronzer; ELF Complexion Brush


Apply a bubblegum pink lipstick!


Targe LipSurgence in Smitten


Tadah!!


Close up

This tutorial is inspired by:


Lee Hyori U-Go-Girl Music Video


Please kindly leave any request for celebrity looks in the comments! Thanks a lot!!!! ^.^

Friday 27 July 2012

What has your makeup done for you lately? Tarte Cosmetics Review

Hi all! Today I'm here to share a very popular cosmetic set that just launched recently on QVC. That is the Tarte Cosmetics - What has your makeup done for your lately? set. I'll be demonstrating a tutorial featuring all of the products in the set and a Tarte Amazonian Clay blush as that is not included in the bundle.


All the products here have maracuja oil (passion fruit oil) in it as it's suppose to help moisturise and brightens your skin. My box also came with a premium tester of the Tarte Maracuja C-brightener Eye Treatment. 

I wasn't very smart and accidentally bought the foundation in a shade too light for myself. However I'll still be using the foundation without mixing in a darker colour in the tutorial. I start to lightly run the Pure Maracuja Oil on the spots of my face that are usually more dry, such as underneath the eyes, around the nose and mouth. Blend it out with your fingers.


Tarte Pure Maracuja Oil

The oil absorbs into the skin quickly and is not scented. It smells a bit like any oil.. cooking oil. 


Maracuja Miracle Foundation in Fair


 BEFORE


AFTER

I used one pump of the foundation and blended it out with the brush that came with the set. Foundation is medium to high coverage. The brush smells pretty bad even though I've already washed it twice and it is rather scratchy to use it as a foundation blush. I would say this serves better as a contour or blush brush.


Tarte Modern Eyes Waterproof Creaseless Shadow/ Liner Duo in Plumberry/ Plum Brown

The eyeliner is probably my favourite product out of the set. It is super pigmented and soft. The colour is absolutely beautiful too! I used it for tight lining in this tutorial.


Tight line + shadow pencil


Creaseless shadow in Plumberry

Blend it out with your fingers. Ideally I would use this only as a base and top it off with a powder eyeshadow. Despite of what it claims, the shadow still creased on my eyelids. I do have particularly oily lids!


Progress so far... TOO WHITE OMG

I am very aware that the foundation it way too fair for my skin tone. Funnily enough though, in person it seems to have oxidised into a colour that is closer to my skin tone now! I only applied very little amount of the foundation this time.


Amazonian Clay Smart Mascara in Gifted

This mascara has a dry formula, which I love! Although it doesn't provide super voluminous lashes compare to MUFE's, it still does a pretty amazing job. Perhaps it will become better as I use it more.


Mascara

For the sake of a complete look, I pulled out my one and only Tarte blush.


Tarte Amazonian Clay 12-hour blush in Dollface


Tarte LipSurgence in Smitten

Love the LipSurgeon! I like the minty feeling it gives on the lips. The new packaging is no longer a twist up, it now comes with a sharpener so that your tip is always sharp!


Complete Look Close Up


Complete Look!

If you have a chance I would highly recommend you to get some Tarte products, especially this particular set as it is a super great deal! I just wished I picked the correct foundation instead of this one that is way too fair for me. Only $59 for all these!!! 

Thank you and see you in my next post! ^.^

Wednesday 25 July 2012

Hard Candy Naturally Naughty Review & No Brush Makeup Tutorial

Hard Candy products are only available in Walmart and some of their products have been quite popular in the beauty community. Today I'm sharing a set that I recently purchased for about $8 at Walmart. It comes with 2 kal-eye-descopes eyeshadows, an eyeshadow primer, lash tinsel, take me out liner, & ginormous lash mascara.

Hard Candy Naturally Naughty Set at Walmart

I will be using my fingers for all the makeup application today. You certainly don't have to own brushes to do your makeup in you're on a budget! It's really quick and easy.

I applied L'oreal True Match Lumi Foundation and blend it out with my fingers. This colour was a bit too dark for me just about a month ago, but now it matches my skin perfectly.


L'oreal True Match Lumi Foundation in W5 Sand Beige


BEFORE (with foundation)

Firstly, apply a thin layer of the eyeshadow primer on your lids.


Hard Candy Eyeshadow Primer

Use your clean ring finger and pick up the lighter eyeshadow and apply it on the inner 2/3 of your lids.


Kal-eye-descope Baked Eyeshadow in High Maintenance


As such

Then use another finger and apply the darker shade on the 1/3 outer part of your lids. Blend lightly with another clean finger. You'll realise that the application is fairly smooth and seamless with fingers!


Eyeshadows complete

Line your upper lash line and 1/3 outer corner of your lower lash time with a brown liner.


Hard Candy Take Me Out Liner

Apply mascara and layer it with the glitter mascara provided.


Hard Candy Glamorous Lash Volumizing Mascara 


Hard Candy Lash Tinsel Glitter Mascara

Complete your face with your favourite blush and lip colour. Here I used an ELF All Over Stick as my blush/ highlight.


Complete look close up


Eye makeup


Complete!

Although Hard Candy products are cheap, some of them are not that great in quality. Some of the products that are lacking in this set are:
  1. The lighter colour of the baked eyeshadow. It was quite hard to pick up the colour, maybe foiling it would be the only way for it to be more vibrant.
  2. Take Me Out Eyeliner. The pencil is quite drying, more like an eyebrow pencil than eyeliner.
  3. Ginormous Lash Volumizing Mascara. It does nothing for my lashes. 
The 2 other products are decent but there is nothing special to say about it. Overall I would say give this set a pass unless you really want to try it out for yourself.

I do not like to provide negative reviews but I feel that it is important for companies to know that their products need improvement and consumers should not waste money on cosmetics that don't work.


Tuesday 24 July 2012

Medium Length Haircut & FOTD

I've had my long hair for a few years now and I've finally decided to make the chop! I am very much used to short hair and I've had hair cuts much shorter than this in the past. Those were the days.. haha!


FOTD

I used the new Sephora + Pantone Blush Duo (Coral) and the eyeshadow quad for this look. 


FOTD 2

In case you don't remember how long my hair was..


The hair

I don't know much about hair do and certainly quite difficult to do it on myself. My hair looked way too heavy and no longer frames my face properly and weighing my hair at the top down.


NEW HAIR

So I chopped a lot off!! YAY!


Profile view LEFT


Profile view RIGHT

I believe I'll be able to do so much more with this hair and I'm really satisfied with the result.

If you are wondering, I did my hair at:

Maya Hair Salon

635 Bloor St. West,
Toronto ON
M6G 1K8
Ph: 416 588 1480

The haircut was cheap and great service too! $17 for male and $30 for female. Remember to give them a call to make an appointment cause they are very popular around Koreatown!