Showing posts with label look. Show all posts

Monday, 3 September 2012

Kim Hyuna Bubble Pop Inspired Tutorial

Today I'll be sharing an interesting look from Kim Hyuna, featured in her Bubble Pop album. She typically rocks the winged eyeliner and dark lash line, this is not a look that I usually go for but I figured that it will be fun for a night out!


Inspiration picture

Of course I look nothing like her and our features are quite different. With some makeup, I tried to create this makeup look on myself rather than trying to transform into Kim Hyuna.


Complete Look!


HAHA and I even tried to imitate her posture but clearly I need more practise!!! :P


BEFORE

Apply foundation and thicken your brows. Thicker brows are essential for a Korean inspired look! You can go as thick as you want, I'm just going to make mine fuller looking.


After Foundation + Brows

Next up, tight line! It may seem scary but the more you practise the better you become.


Essential makeup for this look..


Physicians Formula Eye Brightening Eyeliner; Maybelline Master Studio Eyeliner


Winged liner

Follow the natural curve of the eyes and wing out the line. This is what it will look like from the bottom

Accidental shot.. 

Line the water line and the outer part of the lash line with a pencil liner.


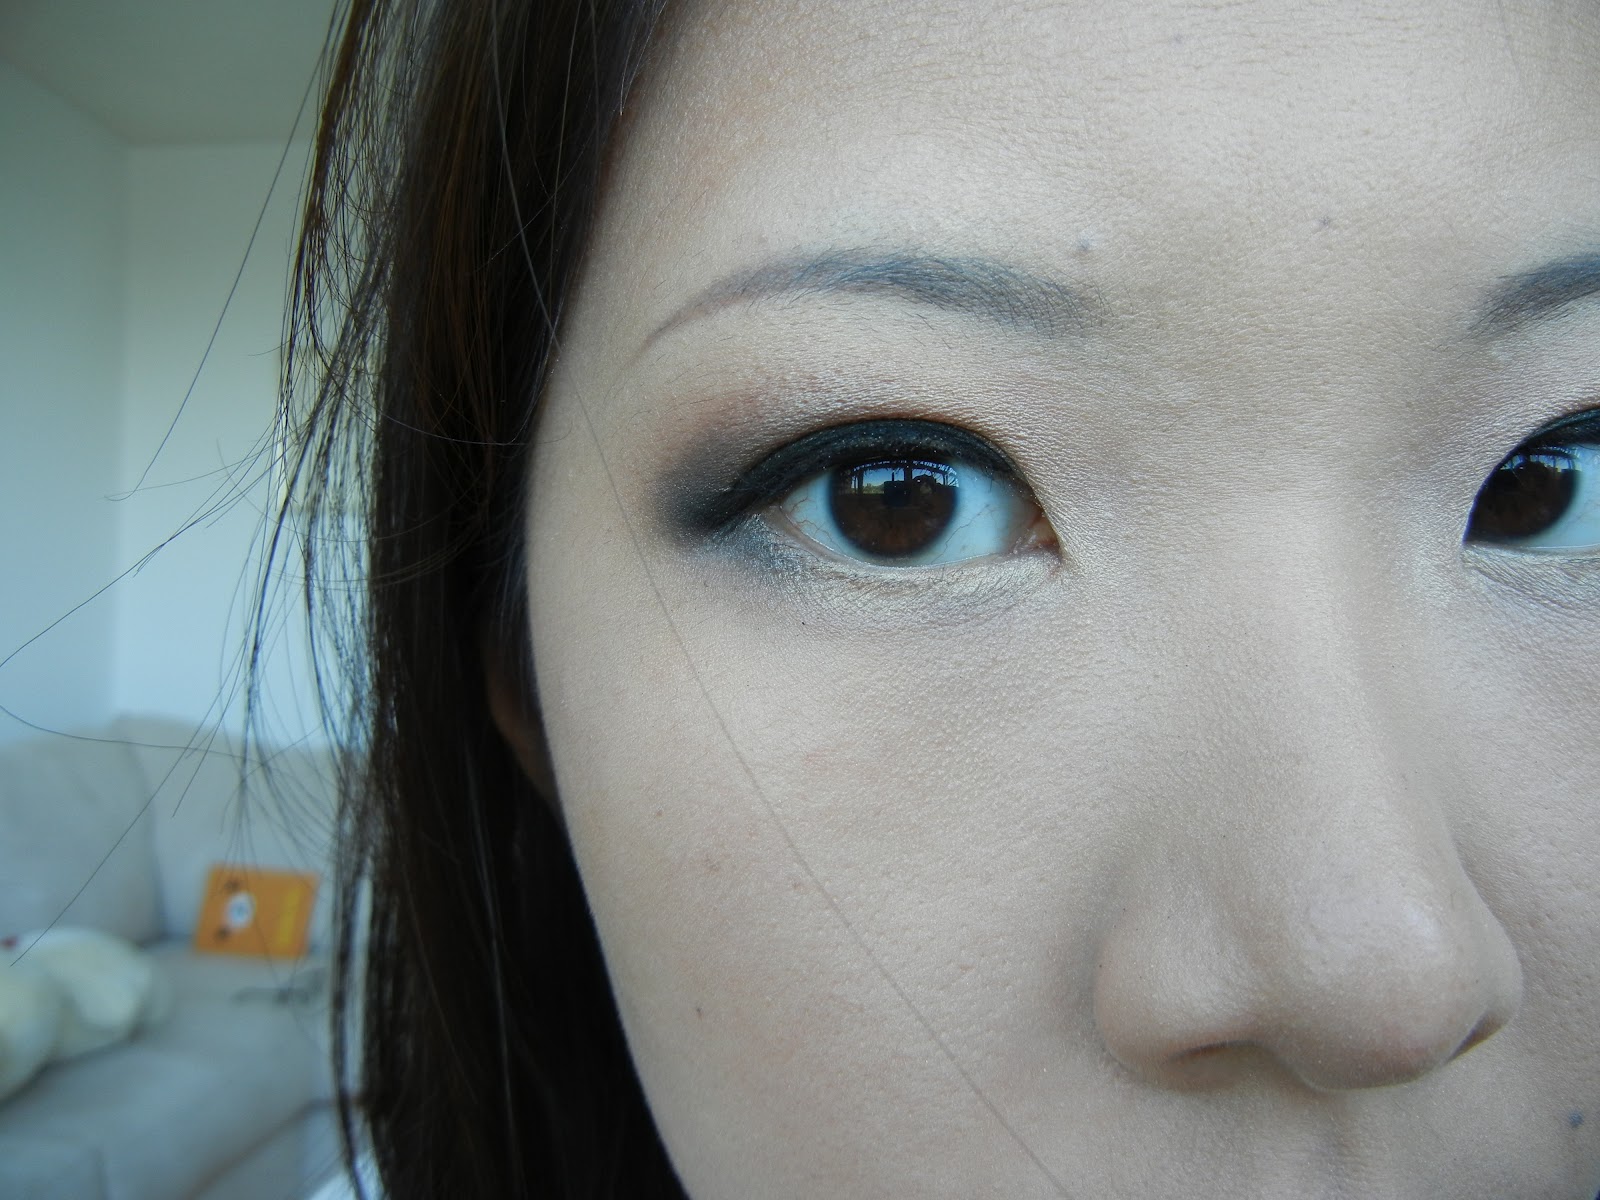
With the sparkly black shadow, use the tip of the flat eyeshadow brush and set the black liner on the lower lash line.


Again using the sparkly grey colour, apply some on the outer corner underneath the lower lash line. This will create a wide eye effect.


Progress so far...

Now onto the colours!


Apply a golden colour eyeshadow on the the 2/3 outer part of the eyelid.


With a blending brush (for lighter application), apply a pink colour to the inner corner.


Like so..


The look so far!

Because my face isn't as slim as Kim Hyuna's, contour is the key! 

NYC Sunny Bronzer


To complete this look, apply a pinky red lipstick on the centre of the lips and blend out with fingers. If you look closely at the picture, her lipstick does not end sharply at the edges.


Revlon Colorburst Lip Butter in 035 Candy Apple


TADAHHHHHH

You can check out the MV here:


Thank you for reading and please leave any celebrity inspired look suggestions in the comment box! See you!


Sunday, 26 August 2012

At a beautiful wedding! (LOTD)
Hi all! We attended Yoshi's cousin's wedding on Saturday at a beautiful apple orchard home. Everything went perfect and the decorations were absolutely amazing! I'll be sharing my LOTD and OOTD along with some pictures of the wedding scenes.


Seating area


Apples of Glasgow

It was a wonderful day and lucky for everyone, the weather was perfect!


Beautiful table setup!!!


Overlooking the very large "backyard"

Yoshi and I decided to be silly and took some shots of us running through the apple fields..


Yoshi & I

Finally, my LOTD and OOTD!


I had a coral + green look :D I figured it would be nice with some colours!


Hi again!

I got the dress  from F21 last month! Luckily no one had the same dress >.<


See you!!


Monday, 20 August 2012

Benefit How to Look The Best at Everything Review - Light

If you have checked out my recent Sephora Haul, you have already seen me featuring the new Benefit How to look the best at everything kit in colour Light. Although I have some other Benefit products, but this is my first time using all the products in the kit. It is a great deal if you just want to try them out!

How to look the best at everything!!

And I'm sure you want to be the best - ALWAYS! 

BEFORE

As usual, this is my bare face! From now on I'll be filming and blogging from the bedroom because my lovely husband kindly bought and set up the new workspace for me :)


The inside

This kit cost $30 and in it you'll get a Porefessional (7.5ml), Hello Flawless Oxygen Foundation in colour Cheers to Me Champagne (7ml), 2 Boi-ing concealers in colour 01 and 02 (2x1.5g), Hello Flawless Powder in colour Me, Vain? Champagne (4g), and a small brush. 

Benefit POREfessional

I was surprised that the Porefessional is tinted, however the colour does not show through upon application. It's meant for covering up areas of the face with large pores. I applied this with a light hand, dabbing motion on my inner cheek area where I have some larger pores. I have to say that I see no difference in the pore size or the finish of my skin after the product. 

This base has a slight scent, nothing too crazy. It leaves the skin feeling smooth.

Hello Flawless Oxygen Foundation in "Cheers to Me" Champagne

I used this product with my F80 Sigma Flat Top brush to buff it out. This entire kit is slightly too fair for my skin, though the Medium one might be too dark.. which I won't be able to use during the long cold months here in Canada. Hahahahaha...

The foundation has light to medium coverage. Suitable for daily wear in low humidity.


After POREfessional and Hello Flawless Foundation

As you can see, my skin still looks fairly red and you can see some redness and freckles on my cheek area.

Next up I'll be covering up some dark circles and redness around the face.

Boi-ing Concealers in colour 01, 02

I have been wanting to try Benefit's concealers for ages cause I have heard SO MANY good things about that. Both the Boi-ing and Erase Paste has fairly good reviews. I used only colour 02 on my face.

The concealers are more dry in texture and definitely covers well. However to use it under the eyes, you will have to moisturize your skin very well before the concealer. I didn't, and I noticed a lot of fine lines!!!! (I'm not even 24 yet!!! T.T)  

I finish my skin with an overall application of the powder. The powder is lovely and it's the best thing in the kit after the concealers!

Close up!

Overall I think that this is a good value and you are able to pick it up at Sephora for only $30. Keep in mind that the sets seem to have darker shades than they labeled it as, and there are only 3 different kits to choose from. 

Tadahh!

If you are interested in what I bought during my trip to Sephora, check out the video!!


Thank you and please leave a comment if you would like me to try out any products for future reviews!

Tuesday, 7 August 2012

Wedding Series - Smoky Look

In continuation of the wedding makeup request, I am here to today to share makeup number 2 of 3 - Smoky Look! Check out the first look I created for the series here.

Begin with a clean palette and prime your face with a moisturiser or face primer.

Complete Look

BEFORE

Sigma F80; Revlon Photo Ready Foundation in 004 Nude

Similar to my last post, I would like to remind you to avoid using any sun screen or a foundation that contains high sun protection. This is create a white cast on your face during flash photography. This foundation colour is definitely getting slightly too light for me, I'll be switching it up a shade!

Remember to fix your eyebrows too!

Water Strong W Eyebrow; Spoolie


Candy Doll Concealer in colour 1

I like to apply concealer after the foundation. This way I won't need to apply many layers of foundation and cover up the areas that require more coverage with a concealer. You can also blend it the concealer on areas that you wish to highlight.

haha!

Now let's continue on to the eyes..

Where to tight line?

I never skip tight lining my eyes whenever I do a makeup look. It is important for sparse lash girls like me as it will create a fuller looking lash line and also make your eyes appear more awake.

There!!!

I know it looks quite creepy.. At this step you don't have to worry for it to look perfect!

Prime your lids

Use Urban Decay Primer Potion in Sin to prime your lids. This prevents your eyeshadow from creasing and enhances the colours that we will be applying later!

Majorlica Majorca in BE286

Use a shimmery pinky/ coraly  colour and apply it on the inner 1/2 of your eyelids.

Like so..

MAC Eyeshadow in Club

With the same brush, apply colour Club on the outer 1/2 of your lids. Remember to always look straight and check where you want the eyeshadows to end.

I highly recommend this MAC colour! It is a duo chrome brown/green base with coral when blended out. 


Always check where your eyeshadow ends!!

Blend it out so that there won't be a harsh line on your lids. Use a fluffy brush like the one below.

Sigma Blending Brush

Blended

MILANI Liquif'Eye Eyeliner Pencil in Black

With the same eyeliner that we used for tight lining, line your lash line and blend it out with a black shadow using a pencil brush.

Pencil Brush; Matte Black Shadow

Blend out the liner

With the remaining left on the pencil brush, blend it slightly onto the lower lash line. Use the tip of the shadow brush and apply the shimmery colour in the inner corner of the lower lash line.

Almost there!

Tapered Brush; NYC Sunny Bronzer

With a matte bronzer or a dark powder, contour the sides of your face and nose.

Lightly contoured

For this look I recommend to use a coral colour blush.

Small Stippling Brush; Pantone + Sephora Blush in Apricot Brandy

I recommend to always use a stippling brush when dealing with blushes or bronzers that are extremely pigmented. 

Yay!!

Now to complete the look..

Tarte LipSurgence in Smitten

This product is absolutely moisturising and long lasting! If you are not intending to reapply very frequently, use this!!! You can purchase this at Sephora! It comes in many colours and I really want to get more of them!!

Close up

Last but not least..

Urban Decay All Nighter Long Lasting Makeup Spray

Make sure you can dance for all night long at your wedding reception!

Complete Look!!!

Thank you for your support and please follow me on Twitter if you wish to chat with me!