Showing posts with label rimmel. Show all posts

Saturday, 15 September 2012

Simple Look with Red Lips

Hi all! I'm doing a simple look today featuring a bright red lip, suitable to day and night! :D It should take 5 to 10 minutes to complete this look.


Hiiiii!

Begin your face with a some sun screen, foundation and nicely filled in eyebrows. Some people prefer to do the eyebrows after the eye makeup, but I usually stay with the same brow shape that's why I like to do this step first.

YSL Teint Resist Long Wear Oil Free Foundation in 5


Begin your eyes with an eyeshadow primer. In this case I would choose one that has shimmer in it.

Essence Stay All Day Long Lasting Eyeshadow in Glammy Goes To...

Like so

Like usual, tight line your eyes with an eyeliner that does not smudge and oil/waterproof. I used to use the MAC Blacktrack Fluidline but lately I've been using the Physicians Formula eyeliner pencil to save time.

Physicians Formula Eye Brightening Eyeliner (I'm running out!)

Close up

Tight lining makes your eyelashes appear fuller and gives the eye a more "awake" look.

UD NAKED Palette in colour Sin

Using a light shimmery colour with a fluffy brush, go across the eyelids in a windshield wiping motion.

UD NAKED Palette in colour Buck

With a matte brown colour eyeshadow and a pointed brush, lightly contour the outer corner of your eyes. You can choose a darker colour if you with to create a more dramatic look.

Progress so far..

Here comes the hard part! Winged eyeliner! Use a pencil liner to sketch a line first if you feel uncomfortable going in with a liquid liner straight away. Remember to always pick a liquid liner that is stiff to ensure more control.
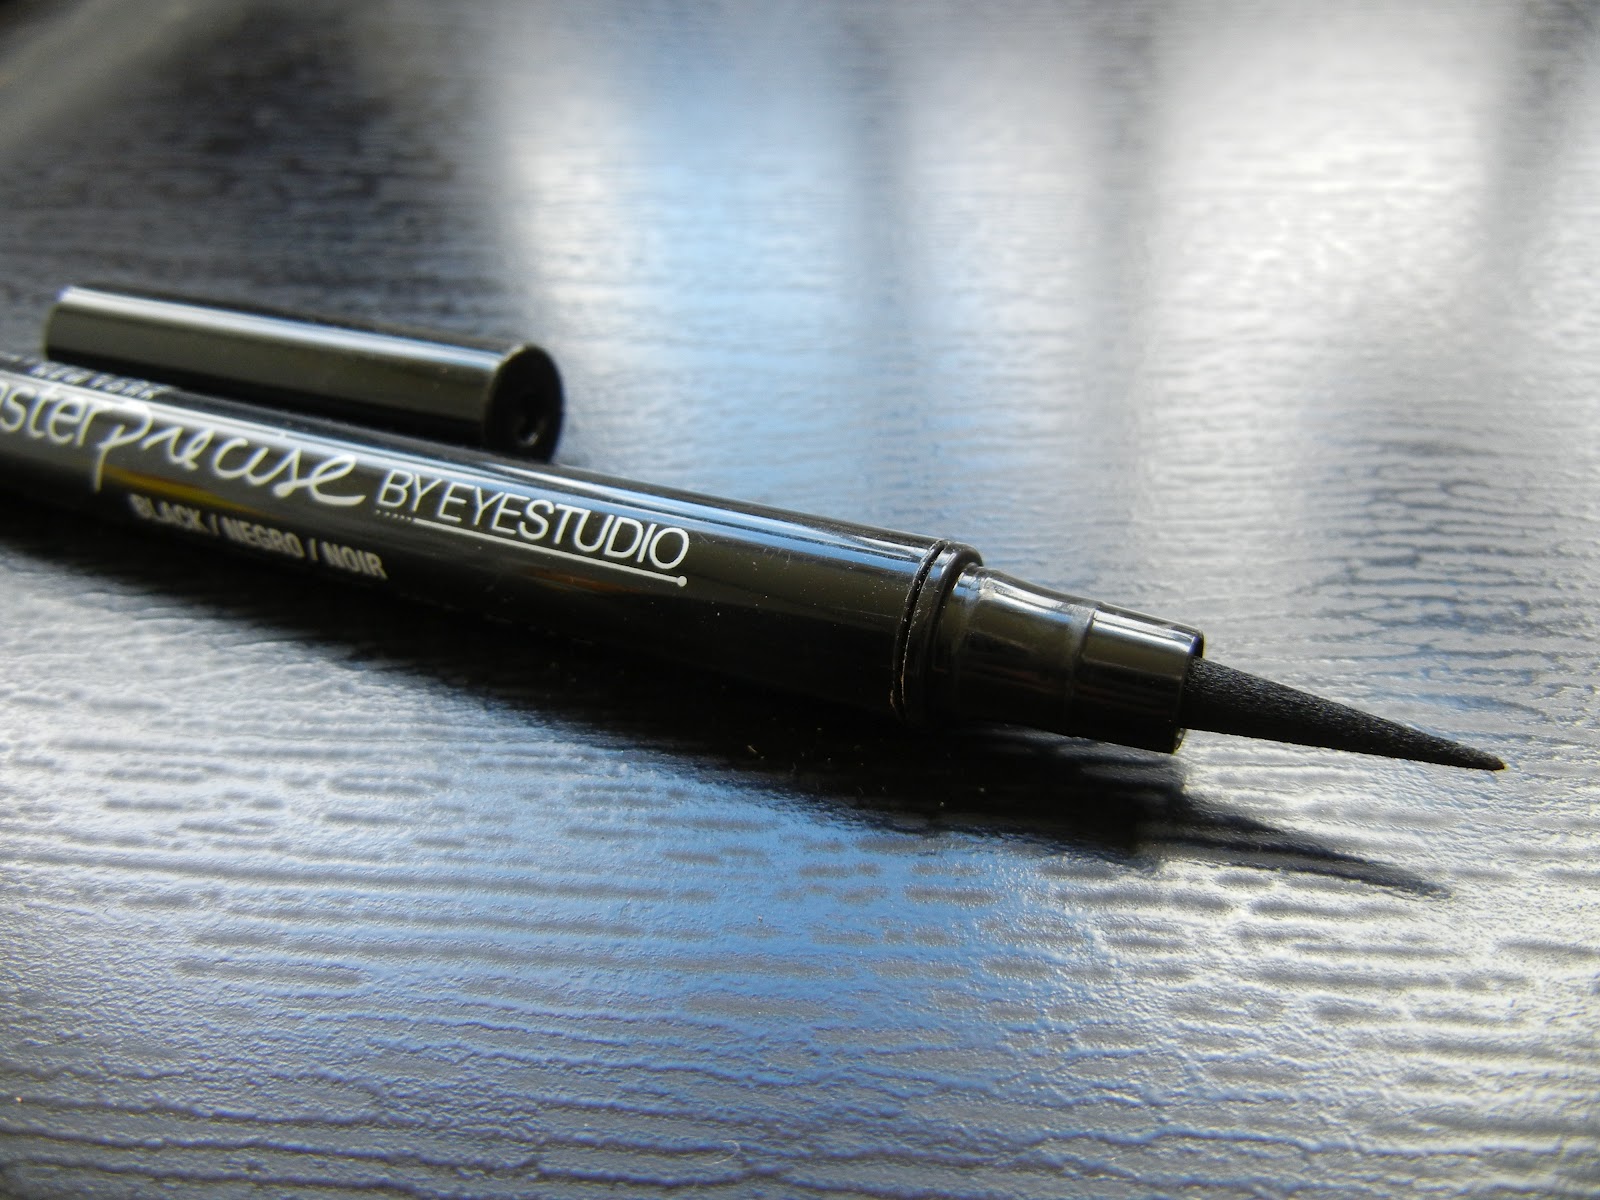
Maybelline Master Percise EYESTUDIO Eyeliner

With eyeliner

Draw the outer part of your eyes first and then the inner part. Make sure the eyeliner is thin in the inner corner. If you have bigger eyes than I do, feel free to go thick on the eyeliner.

Hello!!

YSL Rouge Pur Couture in colour N.1

This colour is surprisingly long lasting!

Benefit blush in Coralista

For a look like this, I recommend to go peach on the cheeks. Or bronzer as cheek colour would work perfectly as well!

Complete look!

Here are some other red colours that I would recommend to go with this look.

Back row: Rimmel Kate no.12; Revlon Colorstay no.375
Front row: Revlon Colorburst no.080; Rimmel Kate no.10

See you soon and have a great weekend!

Friday, 15 June 2012

Blue - Green - Gold Look (featuring Sigma Paris Palette)


Hello there! Hope everyone is having a great weekend! 

Today I'm back with a tutorial featuring the Sigma Limited Edition Paris Palette, using mainly the eyeshadows and blush from it and just a few other products.

To begin with, I'll show you my bare face!

BEFORE


Revlon Photo Ready Foundation in Nude; Sigma F80 Flat Top Kabuki

Start your face with moisturiser or face primer, and then apply Revlon Photo Ready foundation using the flat top kabuki brush. Blend accordingly.

Maybelline Eyestudio Gel Eyeliner in Blackest Black; MAC 209SE Brush

Use this eyeliner to tight line (upper lid water line). The eyeliner is definitely a more affordable option compared to MAC Blacktrack fluid line. The only difference with this Maybelline eyeliner and MAC's, this has a slightly more dry consistency. Both eyeliners apply smoothly with no clumps.

MAC Rubenesque Paint Pot

Use this paint pot as a base for your eyeshadows to adhere. I found that paint pots do not last very long and generally crease after a few hours. For longer lasting make up, please apply an eye primer underneath.

Paris Make Up Palette: Colours used are Versailles, Seine, and Orsay; Blush: Peche


Use the eyeshadow brush from the palette and apply colour "Seine" (Dark blue) on the outer corner and lightly go across your upper lash line.

Next, apply colour "Versailles" (Light gold) on the inner corner and lid, overlapping "Seine" just a little bit using the same brush flipped.

Then, blend "Orsay" (Green) on your socket/ where the eyeshadow ends. Wipe the blending brush on the tissue and blend out all the colours to prevent your make up looking too harsh.

Try to focus at the outside rim of the colours rather than the lids as you want the colours to stay how they are. 

Finally, to complete the eyes, line the upper lash line and the outer corner of the lower lash line with Maybelline eyeliner in Blackest Black. Use L'oreal Double Extension Ultra-Lengthening + renewed look mascara.

Use the Angled brush from the palette and apply colour "Peche" on cheeks.

L'oreal Double Extension Ultra-Lengthening + renewed look Mascara

Rimmel Kate Lipstick in 07

And TADAAA! You're done!

Finish look 1

Finish look 2

Fnish look 3

Thank you all for the kind support and check back often :) 

See you tomorrow!

Thursday, 14 June 2012

Bright Lip - Neutral Eyes Make Up Tutorial


Hello there! Today I'm going to share a rather simple make up tutorial that is suitable for everyday wear and evening night out :)

Since this is my first time doing it, please excuse if I've accidentally missed out some parts. Feel free to leave me comments to ask me about anything! Please click on the product names underneath each picture to purchase them online.

BEFORE

And of course I have to scare you with a photo of my bare face!

Revlon Photo Ready Foundation in Nude; Sigma F80 Flat Top Kabuki

MAC Eyeliner Brush 209SE; MAC Blacktrack Eyeliner

So I generally start with moisturiser/ sunscreen as a base and then foundation on top, blending it with the Sigma Flat Top Kabuki that I swear by. Fill in my eyebrows and then tight line! (Tight lining: Applying eyeliner to the upper water line). Tight lining helps to create fuller looking lashes.

Progression check!

Wet n Wild Eyeshadow Palette in Comfort Zone; Elf Eyeshadow Brush; Sigma E25 Blending Brush

Essence Stay All Day Creme Eyeshadow in 02 Glammy Goes To...

Use Essence Stay All Day Creme Eyeshadow as a base using bare fingers; Apply "Crease" colour (3rd left from top) all over the lid, "Definer" (Bottom right) on the outer corner. 

Before blending..

A lot of people find eyeshadow application difficult and super easy to messed it up. With a blending brush, just lightly go across where the colour ends and blend it in circle motion. This will ensure flawless finish!

Blended and Eyeliner + Mascara Application

Physicians Formula Eye Booster 2-in-1 Felt Tip Eyeliner + Serum

Prestige My Blackest Lashes Mascara (Michele1218's fav!)

NYC Sunny Bronzer; Elf Complexion Brush

I dust the bronzer around the face in the shape of  "3" and also the sides of my nose for minor contouring. 

Wet n Wild Coloricon Blush in Heather Silk

With the same complexion brush, I applied the blush on my cheeks! My apologies that this picture does not show up the colour correctly. In person this blush looks a lot brighter!

Finish off with Rimmel's lipstick (loves!)

Rimmel Kate Lipstick in number 12

Finish Look 1

Finish look with glasses!

Thank you for visiting my blog and please check back often as I update everyday! <3