Begin with a clean palette and prime your face with a moisturiser or face primer.

Complete Look

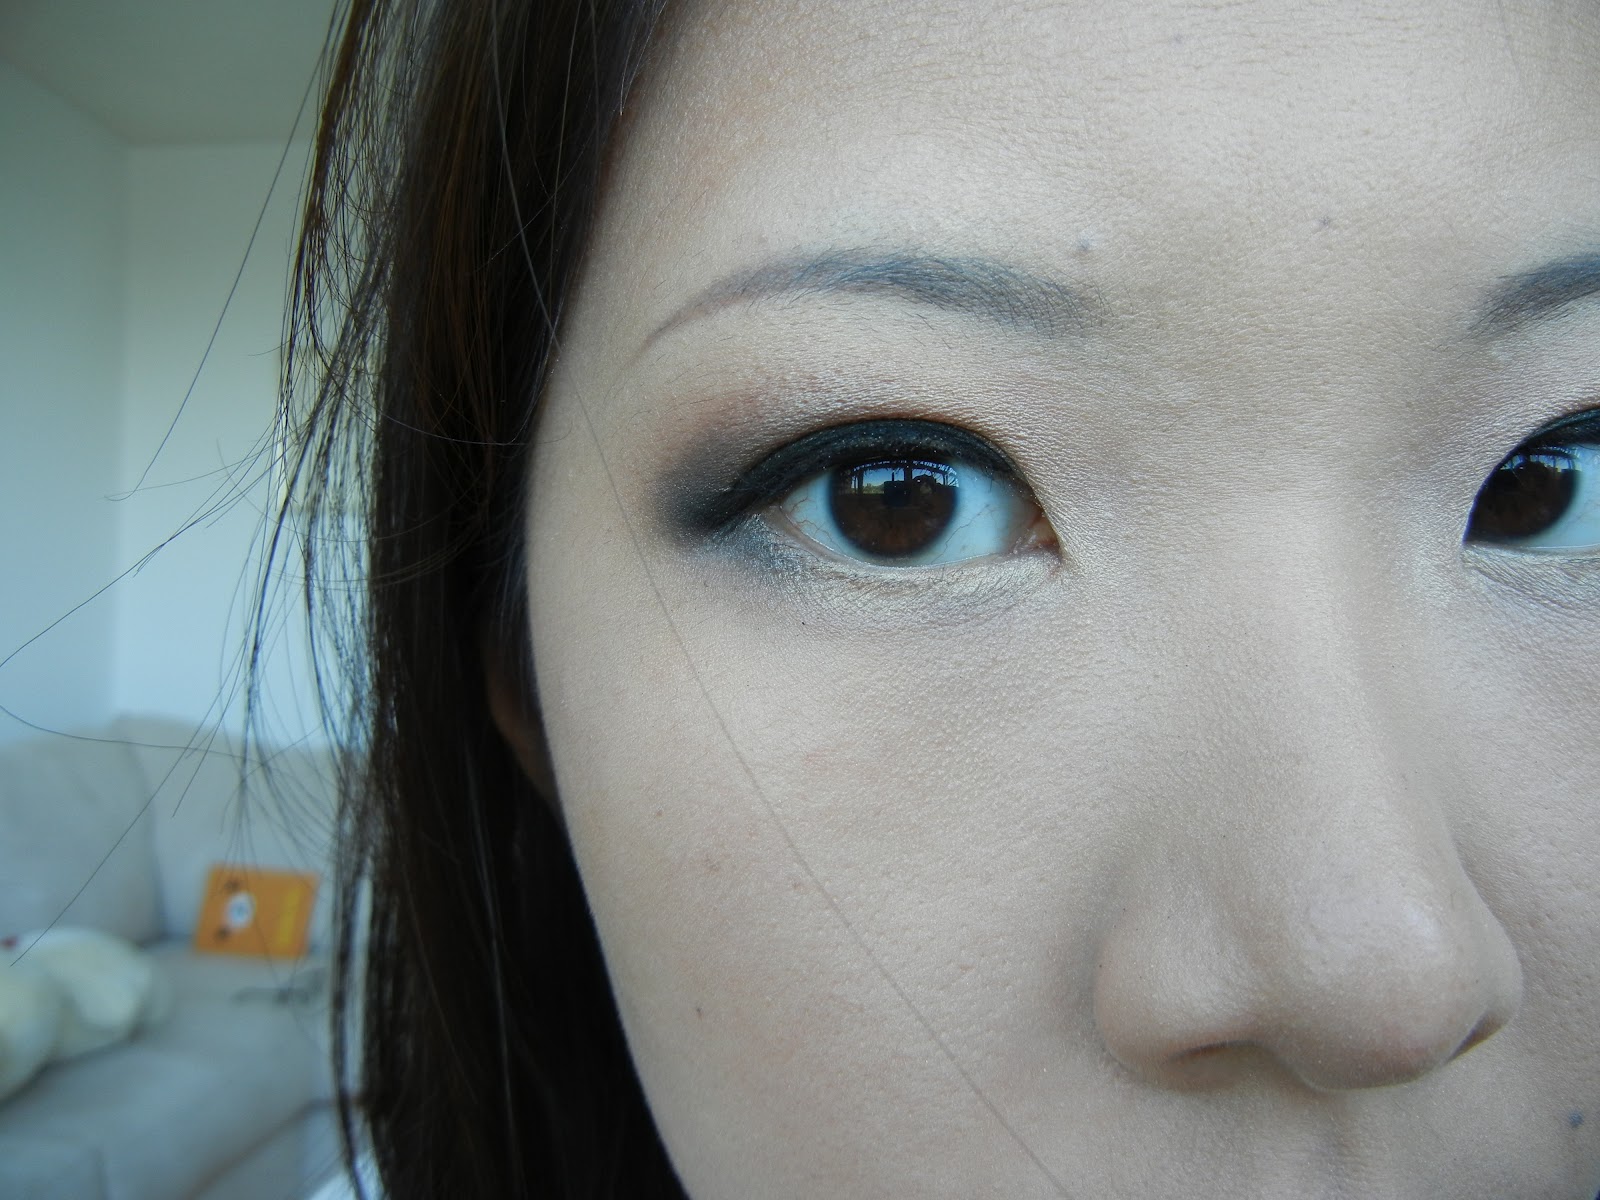
BEFORE

Sigma F80; Revlon Photo Ready Foundation in 004 Nude
Similar to my last post, I would like to remind you to avoid using any sun screen or a foundation that contains high sun protection. This is create a white cast on your face during flash photography. This foundation colour is definitely getting slightly too light for me, I'll be switching it up a shade!
Remember to fix your eyebrows too!

Water Strong W Eyebrow; Spoolie

Candy Doll Concealer in colour 1
I like to apply concealer after the foundation. This way I won't need to apply many layers of foundation and cover up the areas that require more coverage with a concealer. You can also blend it the concealer on areas that you wish to highlight.

haha!
Now let's continue on to the eyes..

Where to tight line?
I never skip tight lining my eyes whenever I do a makeup look. It is important for sparse lash girls like me as it will create a fuller looking lash line and also make your eyes appear more awake.

There!!!
I know it looks quite creepy.. At this step you don't have to worry for it to look perfect!

Prime your lids
Use Urban Decay Primer Potion in Sin to prime your lids. This prevents your eyeshadow from creasing and enhances the colours that we will be applying later!

Majorlica Majorca in BE286
Use a shimmery pinky/ coraly colour and apply it on the inner 1/2 of your eyelids.

Like so..

MAC Eyeshadow in Club
With the same brush, apply colour Club on the outer 1/2 of your lids. Remember to always look straight and check where you want the eyeshadows to end.
I highly recommend this MAC colour! It is a duo chrome brown/green base with coral when blended out.


Always check where your eyeshadow ends!!
Blend it out so that there won't be a harsh line on your lids. Use a fluffy brush like the one below.

Sigma Blending Brush

Blended

MILANI Liquif'Eye Eyeliner Pencil in Black
With the same eyeliner that we used for tight lining, line your lash line and blend it out with a black shadow using a pencil brush.

Pencil Brush; Matte Black Shadow

Blend out the liner
With the remaining left on the pencil brush, blend it slightly onto the lower lash line. Use the tip of the shadow brush and apply the shimmery colour in the inner corner of the lower lash line.
Almost there!

Tapered Brush; NYC Sunny Bronzer
With a matte bronzer or a dark powder, contour the sides of your face and nose.

Lightly contoured
For this look I recommend to use a coral colour blush.

Small Stippling Brush; Pantone + Sephora Blush in Apricot Brandy
I recommend to always use a stippling brush when dealing with blushes or bronzers that are extremely pigmented.

Yay!!
Now to complete the look..

Tarte LipSurgence in Smitten
This product is absolutely moisturising and long lasting! If you are not intending to reapply very frequently, use this!!! You can purchase this at Sephora! It comes in many colours and I really want to get more of them!!

Close up
Last but not least..

Urban Decay All Nighter Long Lasting Makeup Spray
Make sure you can dance for all night long at your wedding reception!

Complete Look!!!
Thank you for your support and please follow me on Twitter if you wish to chat with me!
Follow @AivysBeautyBlog
No comments:
Post a Comment